3/5/2022
Tic Tac Toe
Your first project is going to be Tic Tac Toe. I know, how exciting. Here's a quick demo of the version I put together when preparing the lessons for my first student.
Note: the demoes on this site will be hosted separately and brought in via an iframe. I'll do my best to make sure they look/work well across the site for desktop and mobile, but there will almost definitely be issues. I may find a better way to do this later, but for now I don't think anyone in the world really cares anyways. Just in case I will also put a link at the bottom of each demo that opens it in a new tab.
How to get started
Folder Structure
Create a folder somewhere on your machine to house the project. I personally create a folder for all my development projects in my home directory. It's just a habit from college and it works for me. Feel free to do whatever makes sense for you. If you don't have any opinions and just want a good default, try this:
cd ~ # Note that `cd` with no arguments === `cd ~`
mkdir dev
mkdir dev/tictactoe
cd dev/tictactoe
If the above commands feel foreign to you, take some time to review basic unix commands. Maybe start by checking out the Ubuntu beginner to command line intro. This content is for ubuntu, but it's still entirely relevant for other unix operating systems.
HTML Template
Make a file called index.html. Put in the following boilerplate to get
going. Make sure you save the file after changing it. If there's anything
about this HTML boilerplate that confuses you, take some to work through
the W3 schools HTML tutorials
<html>
    <head>
        <style>
        </style>

        <script>
        </script>
    </head>

    <body>
        <p>My first web page</p>
    </body>
</html>
Serving to the browser
So we have our basic HTML structure in place, but now we need to get our HTML to the browser. For that we will use a neat little program called a bundler. A bundler is a tool that takes your HTML/CSS/Javascript code and bundles it into a neat little package to send to the browser. I like getting started with parcel being it's simple and doesn't require any configuration out of the box.
Run the following command to get parcel installed as a dependency in your project. Make sure you are running this command inside your tictactoe directory.
npm install --save-dev parcel
Just a quick breakdown of what's going on here. npm is a package manger
that comes bundled with node.js. It lets you install packages as either
project dependencies or global command line utilities. In this case we are
doing the former.
Using --save-dev tells npm to save this to our package.json file as a
dev dependency.
Take a moment to run the ls command and appreciate the new stuff in your
folder. The most important bits are package.json and the node_modules folder.
package.json is a file that configures a javascript project in the modern
ecosystem. You can use it to track dependencies/libraries, set up custom scripts
or commands, and even configure your project for pushing to the npm registry
as a public library.
The node_modules folder is a place where npm stores all of your project dependencies.
In a moment we will use the npx to execute a dependency stored in the folder. If npx
can't find the command we specify in that folder, it will check if you have binary
installed globally with the same name.
So now run the following command:
npx parcel serve index.html
The output should look something like this:
➜  tic-tac-toe: npx parcel serve index.html
Server running at http://localhost:1234
✨ Built in 205ms
In most environments you can use ctrl + click or cmd + click to actually
open that link in your browser. You should see a simple white page with some
text just saying My first web page.
Now for actual content
Adding the HTML elements
Okay! You've got parcel serving up your HTML code to the browser. Now it's time
to actually add some content and make it look like something and do some stuff.
First, let's add some HTML elements that will act as our tic tac toe board. Replace
that <p> tag in your HTML body with the following stuff:
<div class="board">
    <div class="row">
        <div class="cell"></div>
        <div class="cell"></div>
        <div class="cell"></div>
    </div>

    <div class="row">
        <div class="cell"></div>
        <div class="cell"></div>
        <div class="cell"></div>
    </div>

    <div class="row">
        <div class="cell"></div>
        <div class="cell"></div>
        <div class="cell"></div>
    </div>
</div>
Hopefully this already makes a lot of sense to you intuitively. We want to put a tic tac toe board on screen so that we can have users click the cells and play the game. The first step is to tell the browser about the board using HTML.
Here we a board, which has 3 children, all rows. Each row has 3 children,
each of which are cells. You can probably picture a tic tac toe board already,
as a 3x3 grid of squares. Hopefully you can see the 1-1 mapping here of cells.
This is basically all of the HTML we need! Later we will add a <button> tag
or two, and maybe a <p> tag for adding more info, but this is all we need for
the board.
Let's make it look like something
If you've checked out your browser, you probably noticed that there's nothing there.
That's because we told HTML about the elements, but they have no real content. Let's
use CSS to style the cells so we have something to look at. Paste the following into
the style tag in your HTML file:
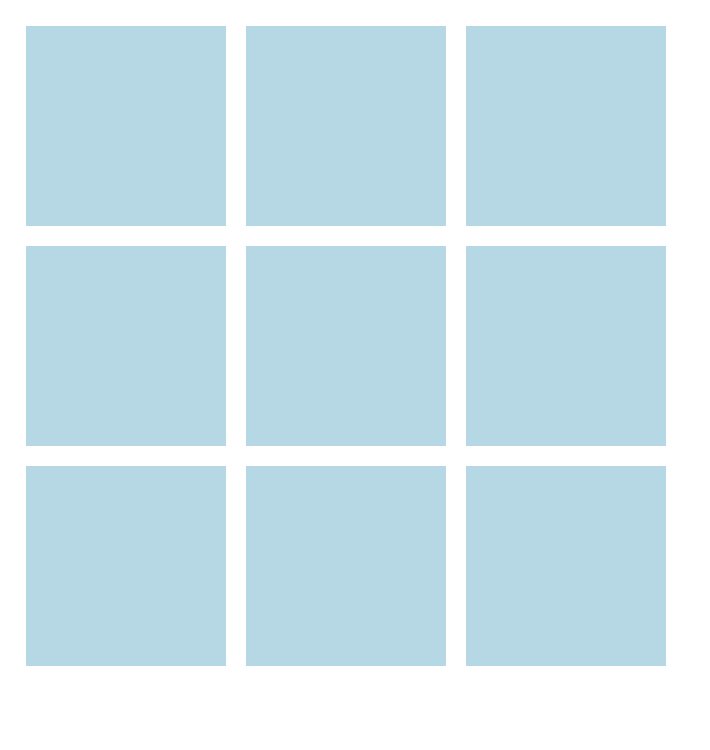
.board {
    display: flex;
    flex-direction: column;
}

.row {
    display: flex;
}

.cell {
    width: 100px;
    height: 100px;
    background-color: lightblue;
    margin: 5px;
}
Hopefully you see something that looks like this:
Now to make it all do something
Okay, the last little bit before I give you some stuff to figure out on your own.
Let's make it so that when someone clicks on the cells, we will the cell with
an X. Try adding the following in your script tag:
window.onload = function() {
    const cells = document.querySelectorAll('.cell');

    for (const cell of cells) {
       cell.addEventListener('click', clickCell);
    }

    // Alternatively, a more functional style:
    // cells.forEach(cell => cell.addEventListener('click', clickCell));
}

function clickCell(event) {
    event.target.innerHTML = 'X';
}
Now check out your browser. Click on one of the cells and you should see an X pop up in the cell. Nice!
Time to practice
Now it's time for you to take this to the finish line on your own. Here's what I want you to try and do yourself:
- Alternate between adding
Xand addingOto the cellsHint: you'll need to store some information about whose turn it isHint: can a boolean help you with these? Lookup booleans and negation.
- Make the
Xs andOs larger and center them in the cellHint: css doth be your friendeth
- Add a reset button to your HTML
- Use javascript to reset the
stateof all the cells when someone clicks your reset buttonHint: You'll need aclicklistener for the button.Hint:event.target.innerHTML = ''; // Empty string, a.k.a "Nothing"
Ask me questions on twitter or email me at ty@tytr.dev